
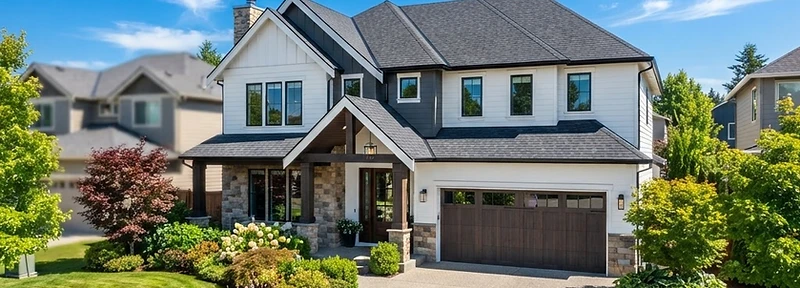

Tell us about your roof and we'll use aerial imagery and our pricing engine to show a preliminary price range. Then book a free inspection with an independent, licensed roofing professional.
Capture Pro connects you with independent, licensed professionals. Online estimates are preliminary and must be verified by the pro you hire.

Owens Corning shingle colors
TruDefinition® Duration® shingles from Owens Corning, installed by the independent pro you hire.

Onyx Black

Slatestone Gray

Estate Gray

Williamsburg Gray

Sierra Gray

Driftwood

Brownwood

Teak

Desert Rose
Screen colors vary from real shingles. Ask your roofing pro for a physical Owens Corning sample at your free inspection before you decide.
Everything that goes into your roof replacement
From pulling the permit to hauling away the debris — the whole sequence, step by step.
 1
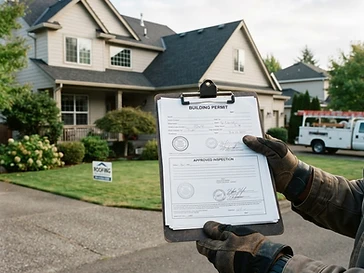
Pull the roof permit
The building permit is filed before any work starts, so your replacement is on record and inspected by your city.
 2
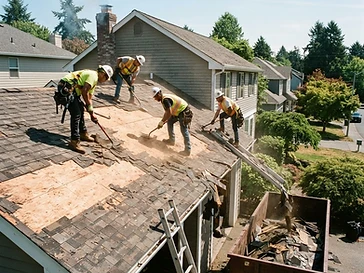
Tear off the old shingles
The existing roofing is removed down to the decking, with the property protected and debris contained as we go.
 3
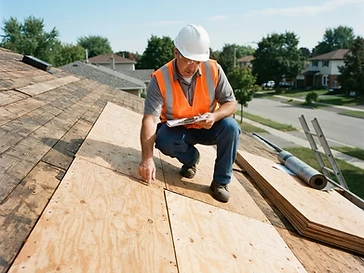
Pass the wood inspection
Exposed decking and framing are inspected, and any damaged wood is replaced before the new roof goes on.
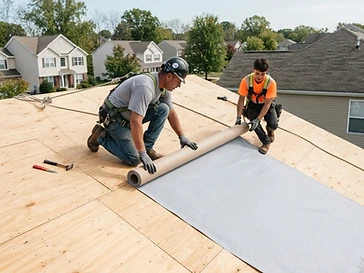 4
Install new synthetic underlayment
A new synthetic underlayment is rolled out across the deck as a secondary water-shedding layer beneath the shingles.
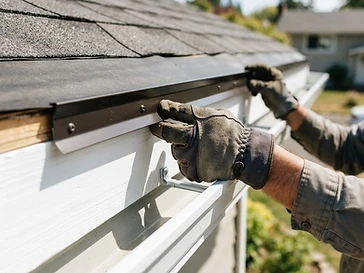 5
Install metal drip edge on the fascia
New metal drip edge runs along the eaves and rakes, carrying water off the roof and away from the fascia board.
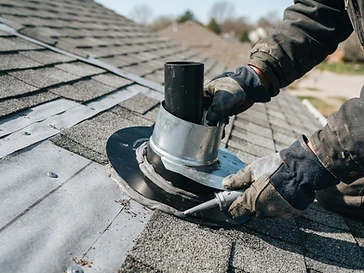 6
Install new metal flashing around pipes
Metal flashing and pipe boots are installed around every vent and penetration, sealing the roof at its weakest points.
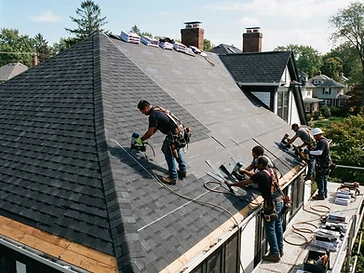 7
Install the new shingles
The new shingle system is installed to manufacturer specification, finished with ridge caps and proper ventilation.
 8
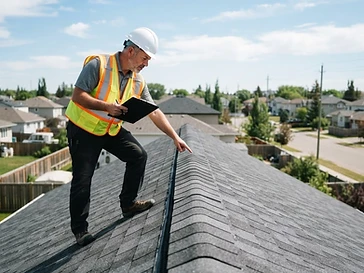
Pass the final inspection
The completed roof is inspected and signed off by your local building department before the job is closed out.
 9
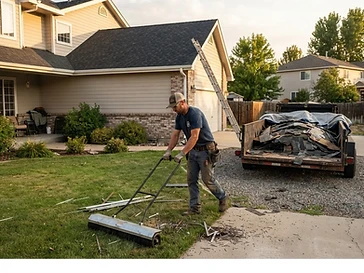
Clean up and haul away the debris
The yard is swept for nails with a magnetic roller and every bit of old roofing material is loaded out and hauled away.


Illustrative photos of a standard roof replacement. Work is performed by independent, licensed roofing professionals.
FAQ
Roofing project photos
Real projects completed by the independent, licensed pros we match you with.
Roof repair. New underlay
Bakersfield, CA
Roof + Solar
Altadena, CA
Installed new Shasta White shingles by Owen’s Corning. 25 Big, 22 Solar Panels
Complete roof and solar panels remove and re installed
Porterville, CA